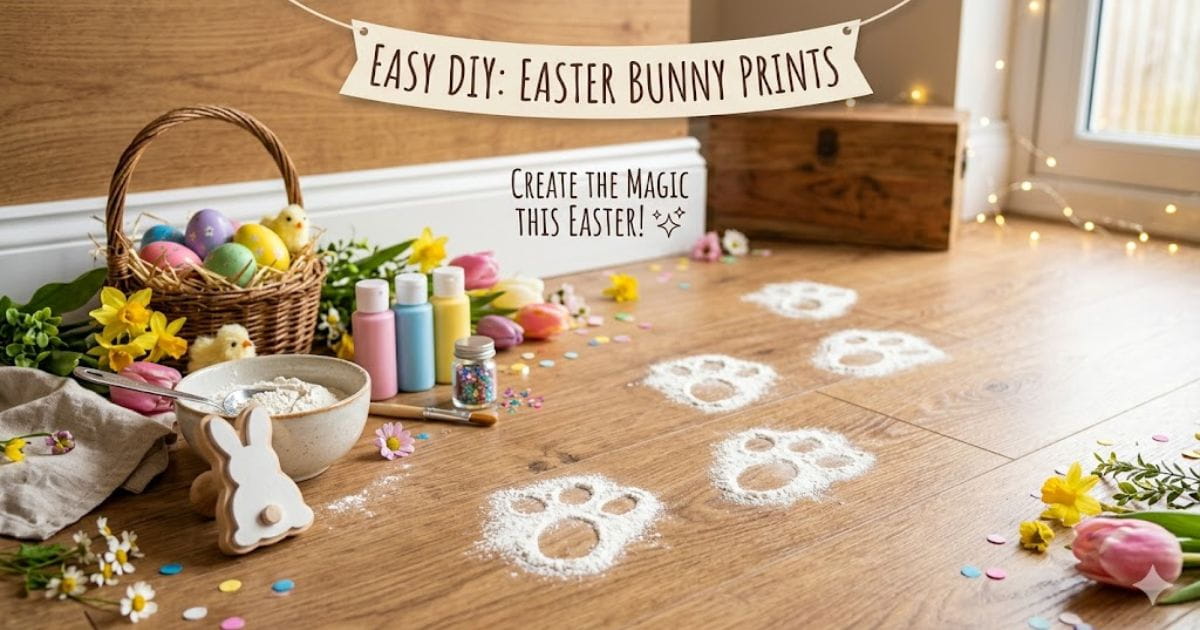
Creating magical moments at home doesn’t have to cost much or feel complicated. When you learn how to do Easter bunny prints, you turn a simple morning into something your kids will remember for years. These tiny trails, usually made with flour or chalk, look like a bunny quietly hopped through your home overnight.
As a result, children wake up excited, curious, and ready to explore. That sense of wonder is exactly why so many families now create DIY Easter footprints as part of their tradition. It feels personal, playful, and far more meaningful than store-bought décor.
You can keep things simple or get creative depending on your space. For example, some parents make a trail leading to an Easter basket, while others design full bunny trail ideas across rooms or even into the yard. The best part is that you don’t need special skills. Once you understand how to do Easter bunny prints, you can easily adjust the design to fit your home.
What Are Easter Bunny Prints and Why Do People Love Them?
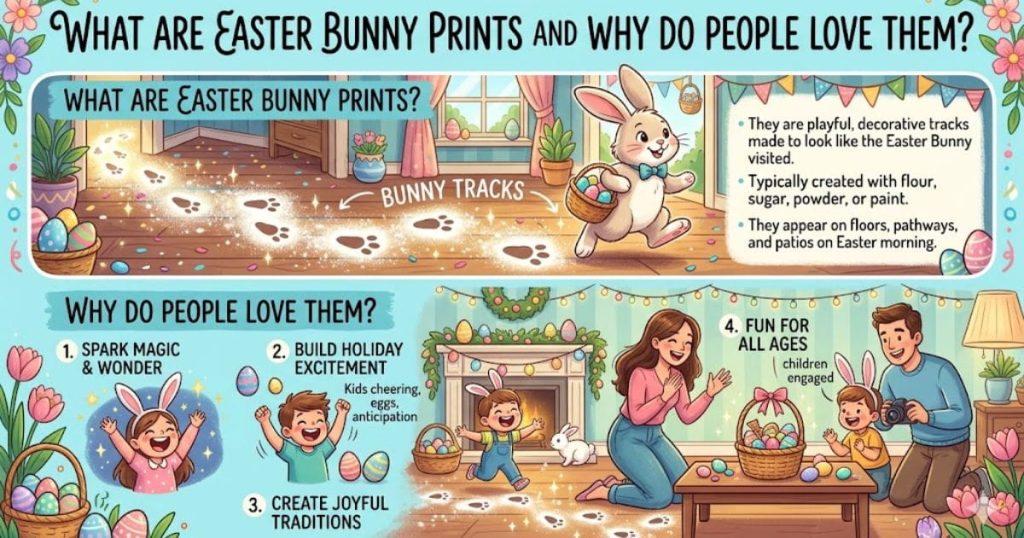
Easter morning feels more exciting when small footprints appear across your floor. When you learn how to do Easter bunny prints, you create the illusion that a bunny visited overnight. These simple trails, often made with flour or chalk, usually lead to eggs or baskets and instantly grab a child’s attention.
At their core, Easter bunny prints are just decorative footprints. However, they carry a bigger purpose. They turn a normal morning into a fun story your kids can follow. For example, you might place prints from the front door to the living room, then end them at a basket filled with treats. That small setup creates a believable and magical moment.
Parents love using Easter bunny footprint ideas because they are easy, affordable, and personal. Instead of relying only on decorations, you’re creating an experience. Many families now use DIY Easter footprints as a yearly tradition because it builds excitement and keeps kids engaged.
Materials Needed to Create Easter Bunny Prints
Every creative project begins with the right tools, and making Easter bunny prints requires only a few household items. Flour, baking soda, or chalk works perfectly for visible prints. Meanwhile, cardboard helps you create neat stencil shapes without extra effort.
Some families elevate their designs with glitter or washable paint. These additions enhance bunny trail ideas and make them visually exciting. However, choosing the right material depends on your space. Indoor setups benefit from soft powders, while outdoor paths work better with chalk-based solutions.
How to Make a Bunny Footprint Stencil Easily
A well-shaped stencil makes all the difference when learning how to do Easter bunny prints. Start by sketching a simple bunny paw on paper. Keep the design minimal so it looks natural rather than overly detailed or artificial.
After drawing, carefully cut along the outline. You now have a reusable template. Many people create two stencils to speed up the process. This approach improves efficiency and ensures your DIY Easter footprints appear consistent across the entire path.
Step-by-Step Guide on How to Do Easter Bunny Prints
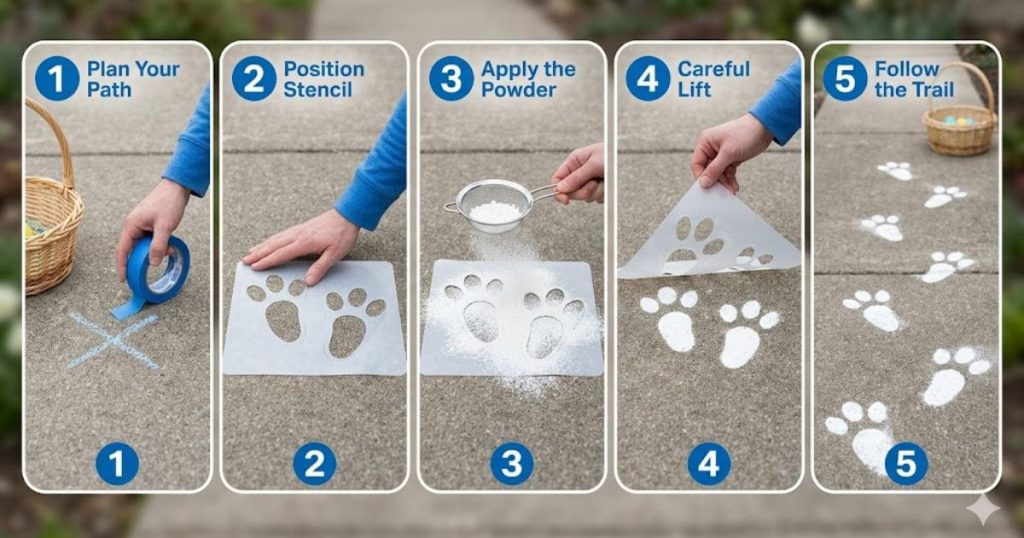
Creating a believable trail starts with a simple plan. When you understand how to do Easter bunny prints, the process becomes quick and fun. The goal is to make the footprints look natural, not perfect, so kids feel like a real bunny visited.
Start by choosing a clear path. Most people create a trail from the door to the Easter basket. This makes the story easy to follow. For example, you can begin near the entrance and guide the prints toward hidden eggs. This small detail adds excitement and keeps children engaged. Here are the following steps.
- Choose your starting point and final destination.
- Place the stencil flat on the surface.
- Lightly sprinkle flour, baking soda, or chalk.
- Lift the stencil slowly to keep edges clean.
- Repeat while changing angles and spacing.
Creative Easter Bunny Footprint Ideas for Kids
Adding a creative twist makes a simple trail feel magical. Once you know how to do Easter bunny prints, you can turn basic footprints into a fun story your kids will follow. The idea is to guide them from one surprise to another while keeping it playful and believable.
For example, you can start the trail at the front door and lead it to the Easter basket. Some parents add turns, stops, or even “rest spots” to make it look real. These Easter bunny footprint ideas keep children curious and excited as they follow each step.
Fun Ideas You Can Try at Home
- Create a trail from the door to the hidden eggs.
- Make zigzag or curved paths for a natural look.
- Add prints near windows to show “entry points.”
- Use outdoor paths to guide kids in the garden.
Make It More Magical with Small Details
You can take things further with simple touches. Sprinkle a little glitter for sparkle or add a few prints on furniture edges for fun. Some families even use soft chalk outside to extend bunny trail ideas into the yard.
For instance, placing a few prints near a window and then continuing them inside makes the story feel real. These details turn basic DIY Easter footprints into a full experience your kids will remember.
Indoor vs Outdoor Easter Bunny Prints
Choosing the right method depends heavily on location. Indoor prints benefit from flour or baby powder since they are easy to clean. This approach ensures your DIY Easter footprints remain visible without damaging surfaces.
Outdoor setups require stronger materials, such as chalk. Weather conditions play a role here. Wind can scatter powder quickly. Therefore, using chalk-based Easter bunny footprint ideas ensures durability while maintaining a neat appearance throughout the celebration.
Common Mistakes to Avoid
The most common mistakes include using too much powder, placing prints in straight lines, and smudging the stencil. To fix this, use light powder, vary spacing, and lift the stencil carefully to create clean and realistic bunny footprints.
- Using too much powder, which creates blurry and messy prints
- Placing footprints in a straight line, making them look fake
- Keeping equal spacing instead of natural hopping gaps
- Smudging edges by lifting the stencil too quickly
- Rushing the process without testing one print first
For example, if you slightly change the direction of each step, your bunny trail ideas will look much more realistic. Once you avoid these mistakes, making Easter bunny prints becomes easy, and the final result feels truly magical.
Sum Up
Creating meaningful Easter traditions is never about perfection. It’s about the small, joyful moments that bring everyone together. When you learn how to do Easter bunny prints, you turn a simple idea into a magical experience filled with surprise, laughter, and curiosity.
These little footprints may fade away, but the memories they create last much longer. With just a few simple materials, you can spark your children’s imagination and build a tradition they will look forward to every year.
FAQs
Q1. How to leave Easter Bunny prints?
To leave Easter Bunny prints, use a stencil shaped like bunny feet and lightly sprinkle flour, baking soda, or chalk over it. Lift the stencil carefully to keep the shape clean. Repeat along a path, spacing prints unevenly and angling them slightly to mimic natural hopping.
Q2. What is the 3-3-3 rule for bunnies?
The 3-3-3 rule refers to how rabbits adjust to a new environment. It takes about 3 days to feel overwhelmed, 3 weeks to settle in, and 3 months to fully feel safe and comfortable. This guideline helps owners understand rabbit behaviour and build trust gradually.
Q3. Why does the Easter Bunny bring eggs?
The tradition comes from ancient symbols of spring and fertility. Rabbits represent new life, while eggs symbolise rebirth. Over time, these ideas blended into the Easter story, especially in Western cultures, where the Easter Bunny became a fun figure delivering eggs to children.
Q4. What do you use for Easter Bunny footprints?
You can use simple household items like flour, baking soda, baby powder, or chalk to create footprints. For outdoor use, chalk works best, while flour is ideal for indoor use. A stencil helps create clean, realistic shapes that look like bunny tracks.