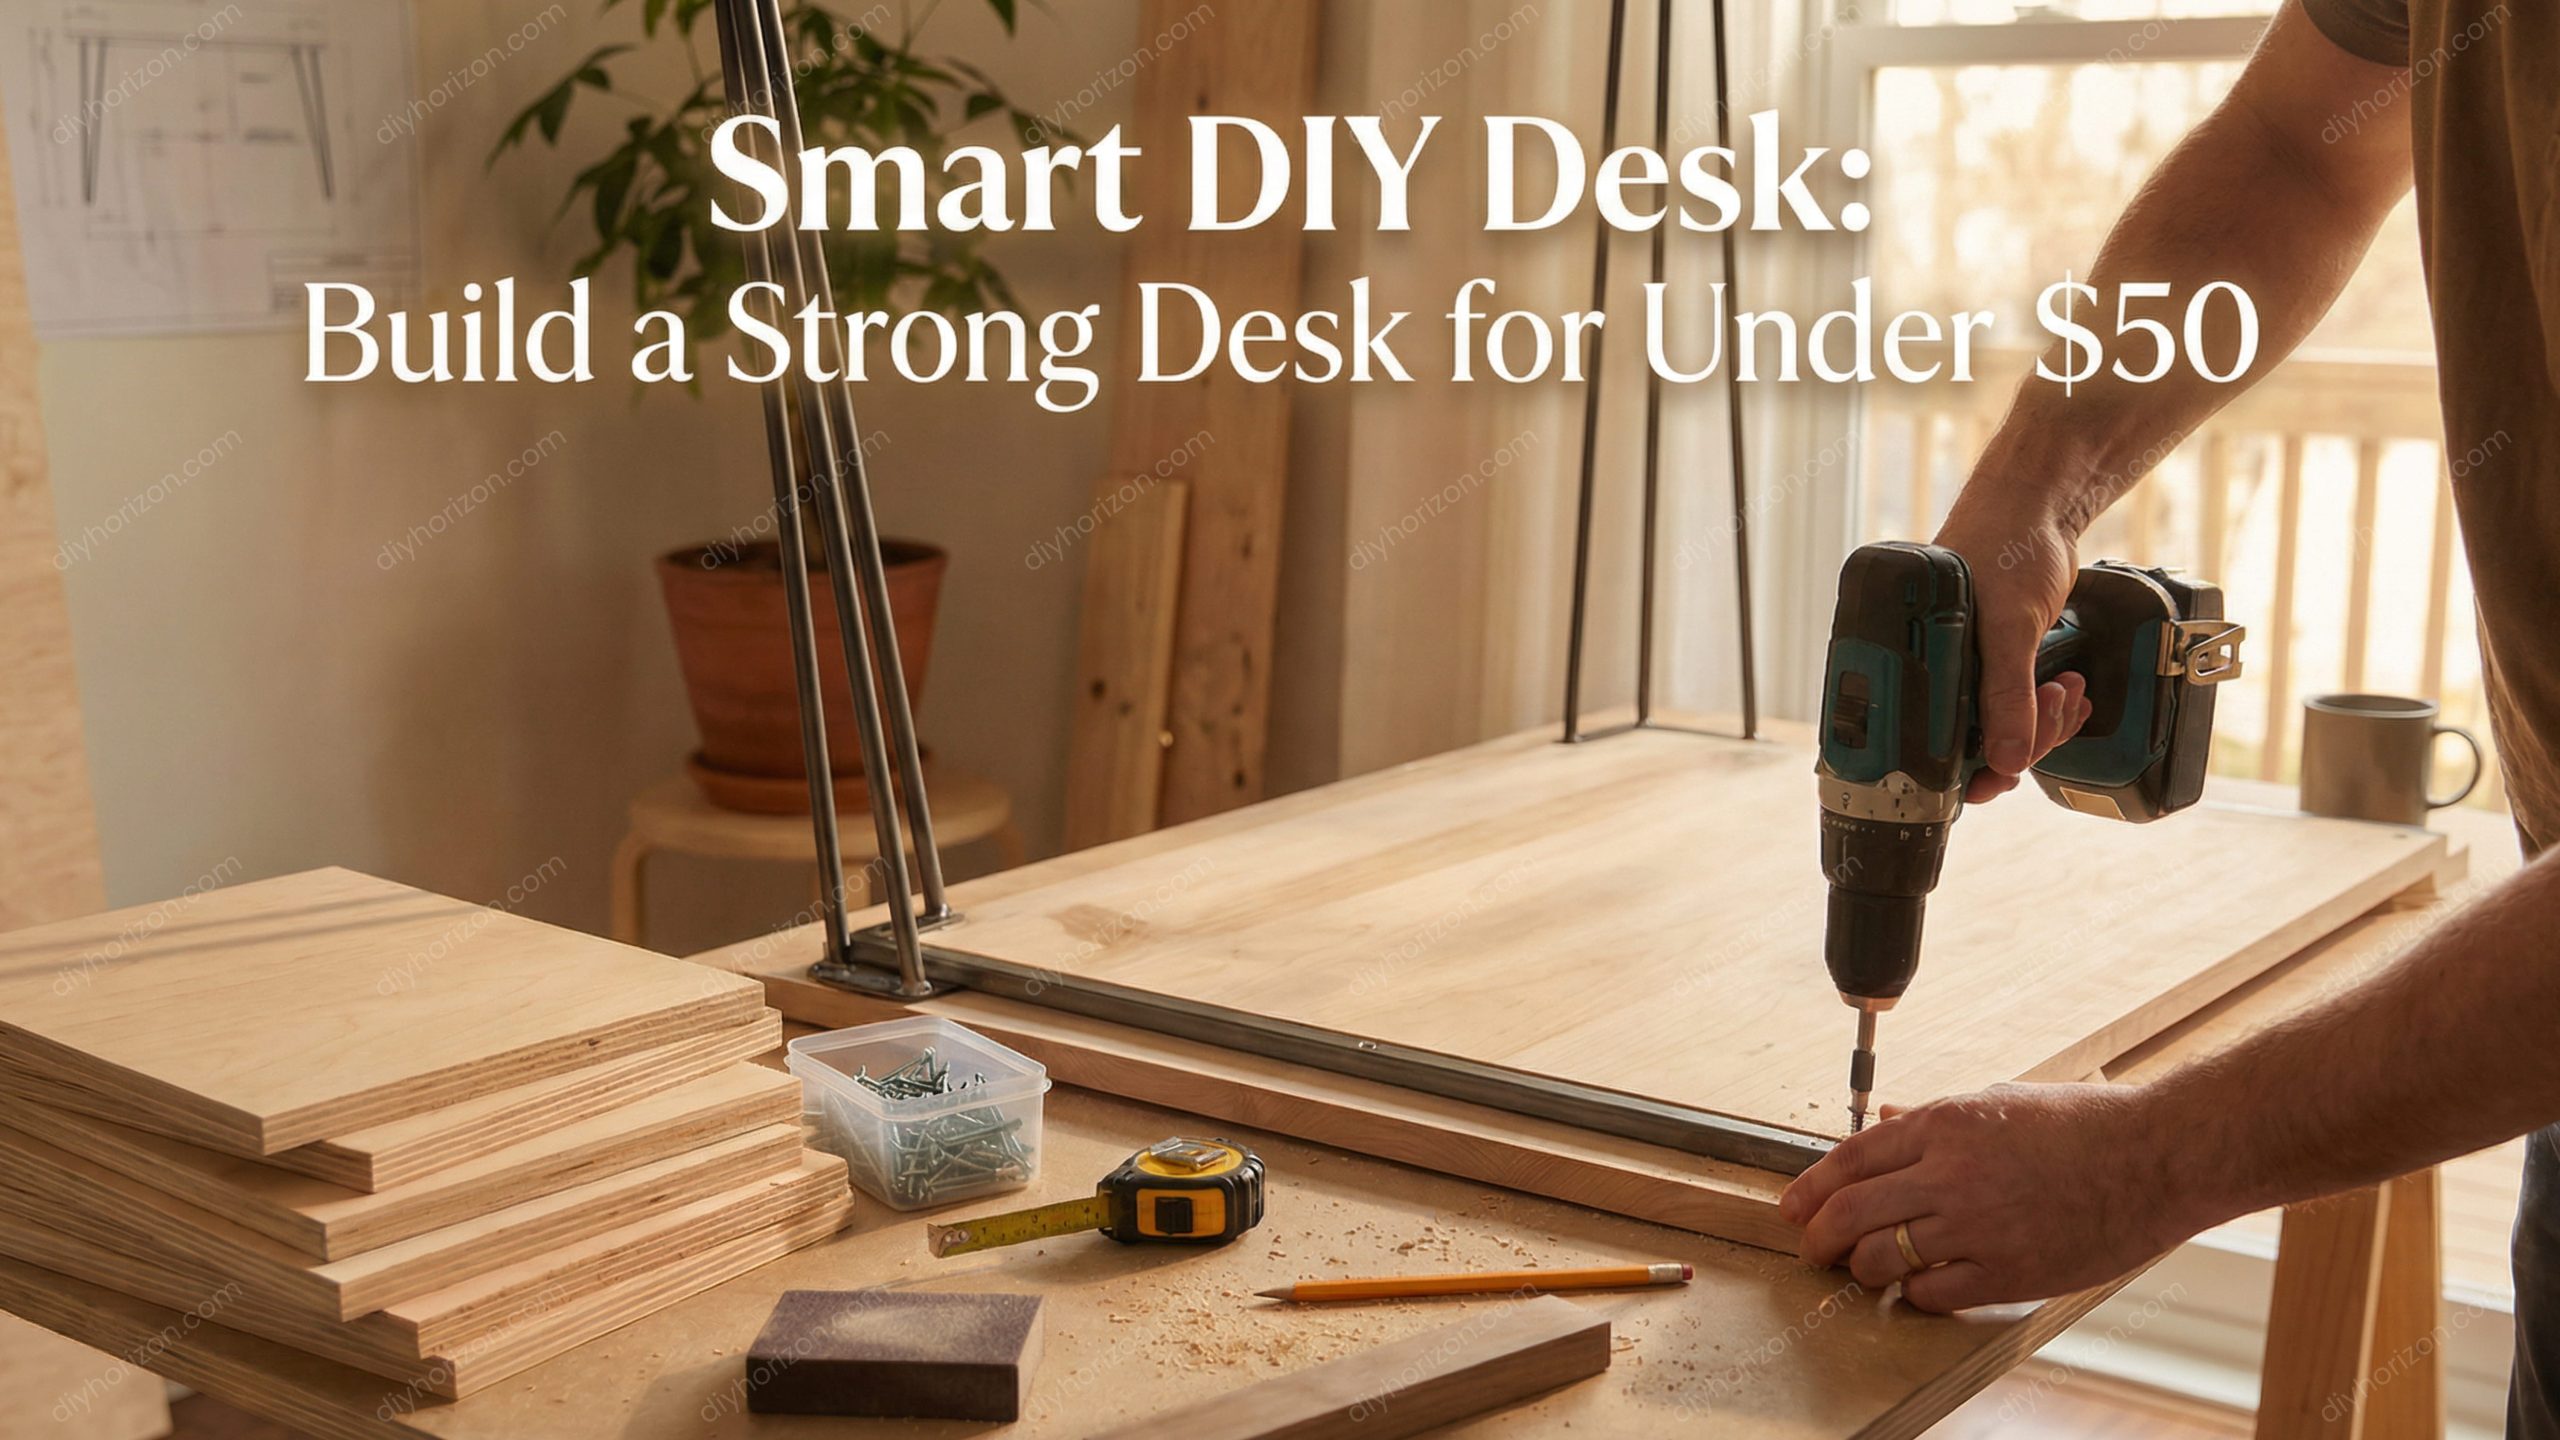
Creating your own DIY desk plan doesn’t have to be expensive, stressful, or complicated. With the right approach, you can build a strong and stylish desk for under $50 using simple materials from your local hardware store. You don’t need advanced carpentry skills just basic tools, clear measurements, and a little patience. This DIY desk plan is perfect if you need a practical workspace for your home office, study corner, gaming setup, or creative projects. Instead of buying an overpriced desk, you can customize the size, height, and style to fit your room perfectly.
In this guide, you’ll learn how to plan your design, choose affordable materials, assemble the desk step by step, and add simple finishing touches to make it look clean and modern. Let’s turn budget friendly supplies into a functional desk you’ll be proud to use every day.
In this guide, we’ll walk you on how to make a homemade cardboard box, share easy and practical storage ideas, and give insider tips to make your boxes look neat, sturdy, and professional. By the end, you’ll have a collection of stylish, functional boxes you can actually use and enjoy making every single one!
Why Build a DIY Desk?
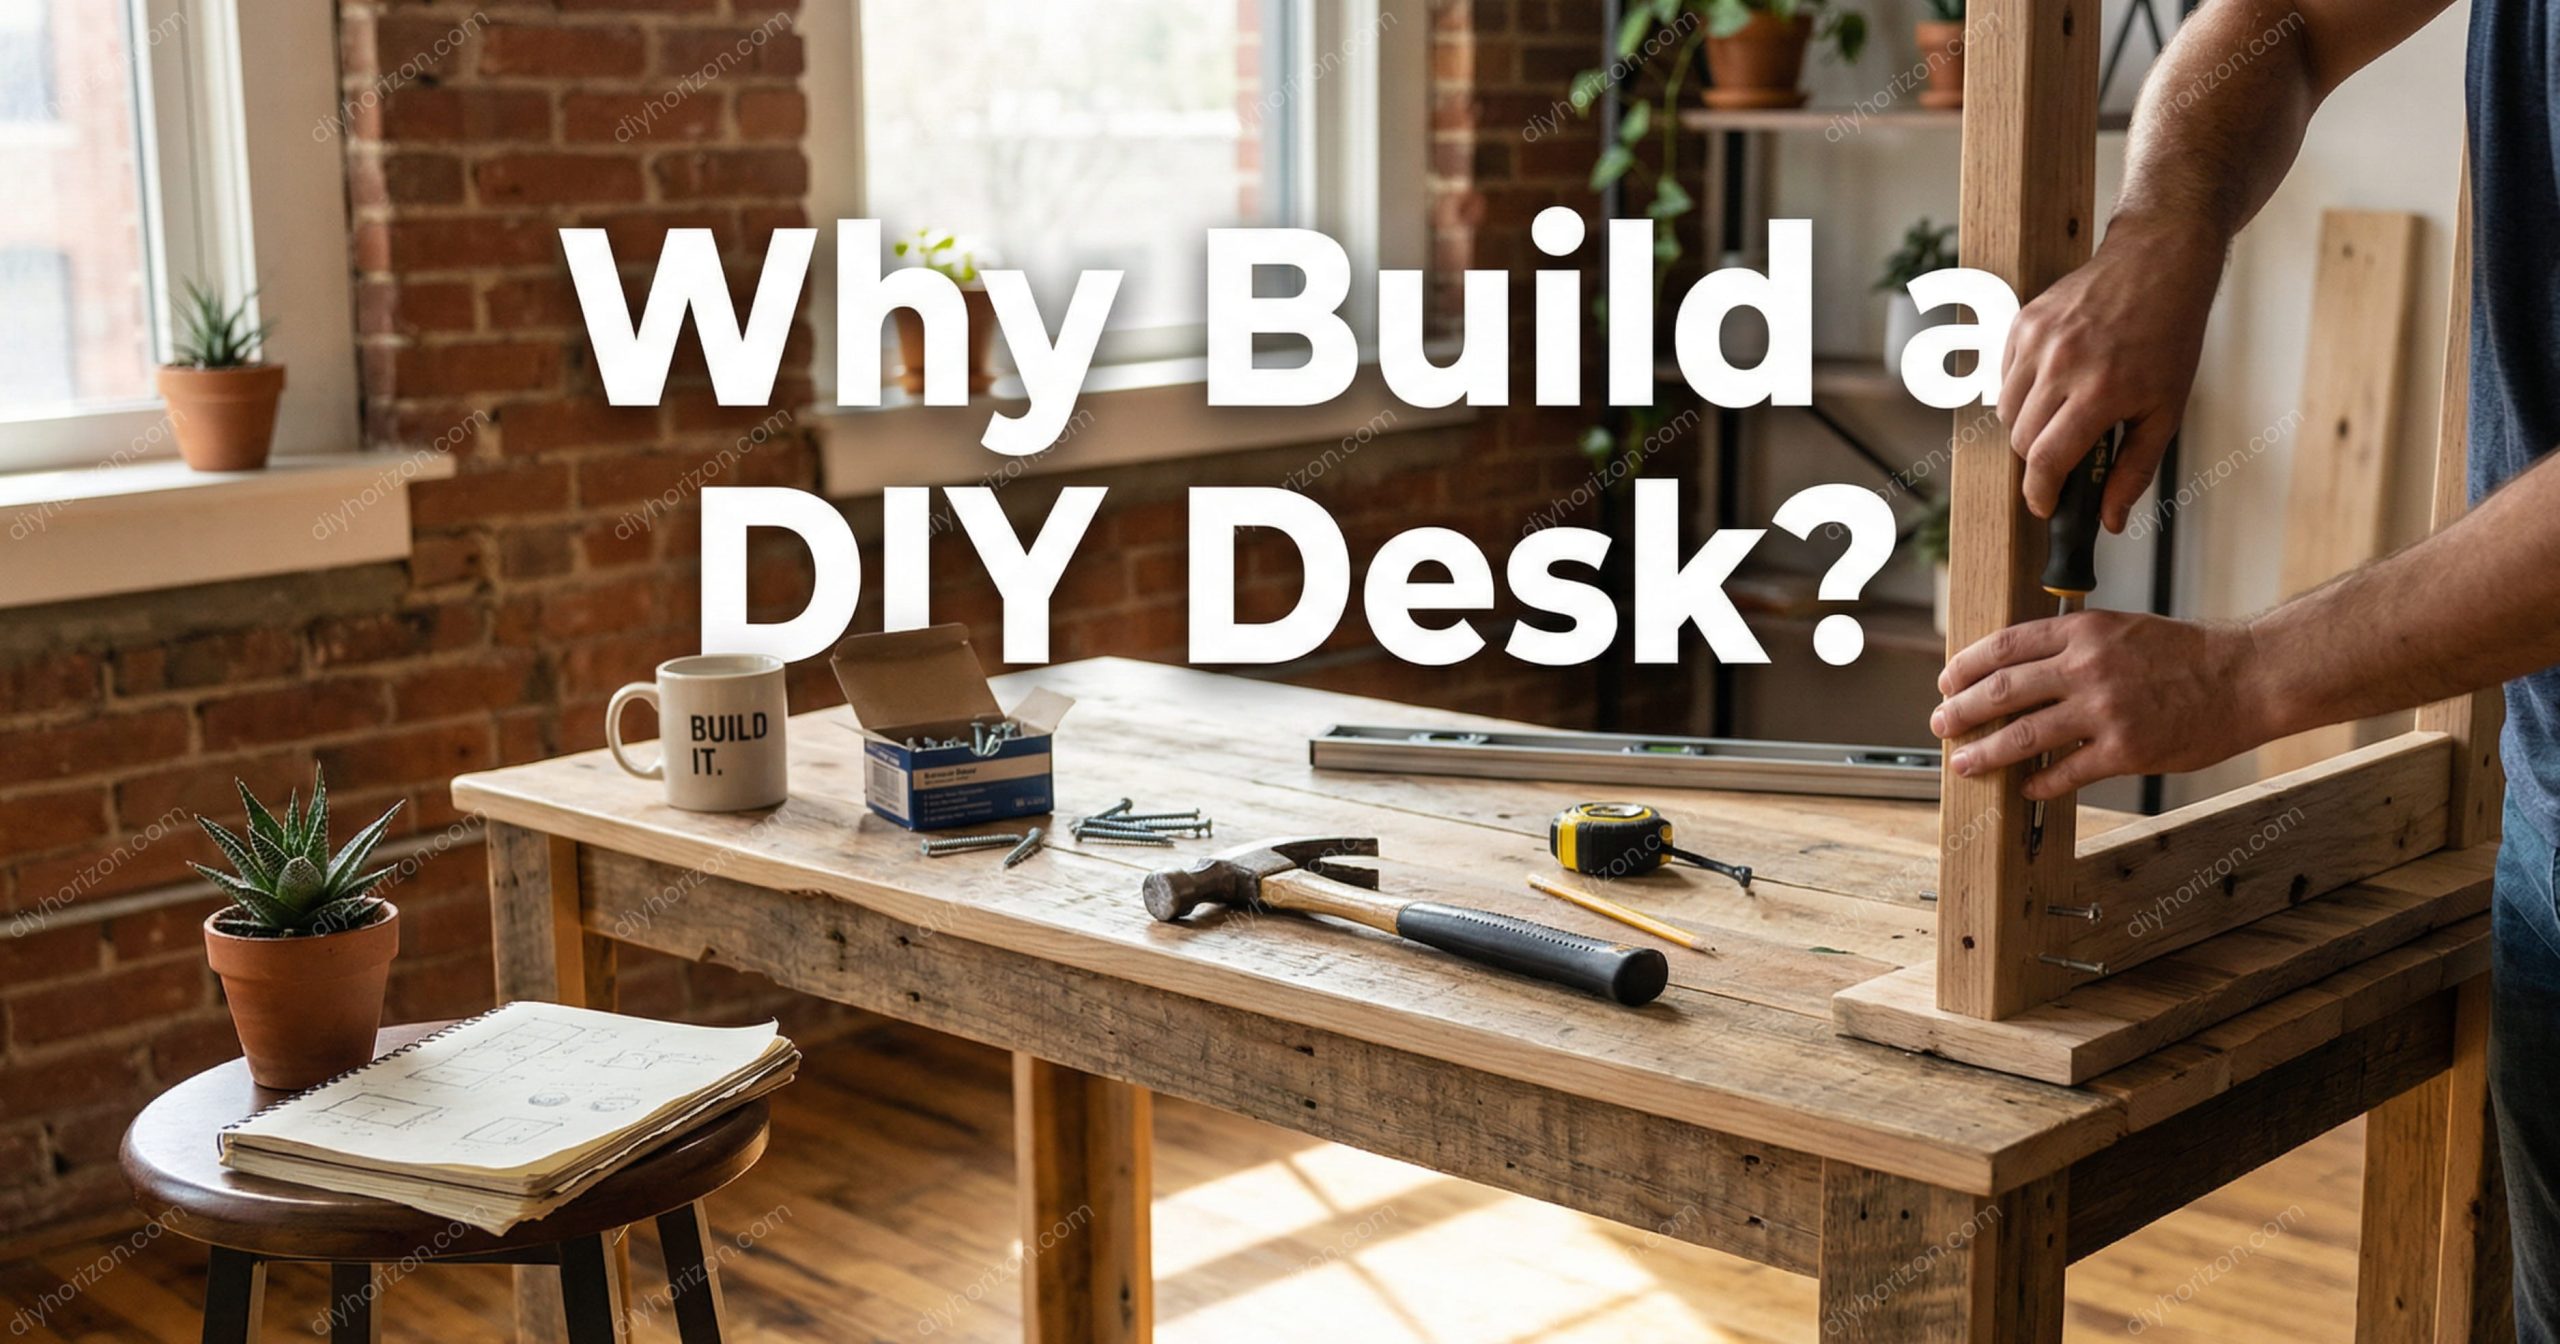
Choosing a DIY Desk Plan instead of buying ready-made furniture gives you more control, saves money, and adds a personal touch to your space. Store-bought desks can be expensive, and many don’t fit your room perfectly. When you follow a DIY Desk Plan, you can build a desk that matches your exact needs and budget.
One major benefit is cost savings. You can build a strong and stylish desk for a fraction of retail prices. Another advantage is customization you decide the size, height, color, and storage options. Whether you want shelves, drawers, or a simple tabletop, your DIY Desk Plan makes it possible.
Building your own desk is also rewarding. You learn basic woodworking skills and create something useful with your own hands. Plus, you can use reclaimed wood or leftover materials, making your project more Eco friendly and practical for long-term use.
Tools & Materials You’ll Need
🛠 Essential Tools
- Power drill or hand drill
- Circular saw, jigsaw, or handsaw
- Orbital sander or sanding block
- Measuring tape and square
- Clamps
- Pencil and level
🪵 Materials
- Plywood or MDF for tabletop (about 24″x48″)
- 2×4 lumber for legs and supports
- Wood screws and wood glue
- Sandpaper (80 to 220 grit)
- Paint, stain, or protective finish
- Optional: drawer slides or organizers
Pro Tip: For a budget friendly option, visit thrift stores, scrap yards, or use leftover wood from other projects.
Step 1: Plan Your Desk Design
Step 3: Assemble the Frame
Now it’s time to build the base of your DIY Desk Plan. Start by attaching the legs to the cross-supports (aprons). Apply wood glue at each joint, then secure everything with wood screws for extra strength. This will keep your desk stable and long-lasting. As you assemble, check that the frame is perfectly square. You can use a carpenter’s square or measure diagonally from corner to corner both sides should be equal. If you plan to add drawers or shelves, install extra support pieces now. A strong, straight frame is the foundation of a sturdy desk.
Step 4: Attach the Tabletop
For this step in your DIY Desk Plan, turn the tabletop upside down on a flat surface. Carefully place the assembled frame on top, making sure it is centered properly. Check that the overhang is even on all sides for a clean, balanced look. Once aligned, attach the tabletop by driving screws through the apron into the underside of the tabletop. Do not over tighten, as this can damage the wood. Before inserting screws, pre-drill small pilot holes to prevent the wood from splitting. Finally, flip the desk upright and use a level to ensure it stands straight and stable.
Step 5: Sanding & Surface Preparation
Give your DIY Desk Plan a polished look with the finishing touches. Start by staining or painting the desk in a color that matches your room décor. Apply thin, even coats for the best results and let each coat dry completely. Next, protect your desk with a clear finish like polyurethane or furniture oil. This safeguards against scratches, spills, and daily wear, keeping your desk looking new longer. Finally, consider adding optional organizers such as drawer dividers, small storage boxes, or cable management solutions. These small additions improve functionality and make your desk both stylish and practical.
DIY Desk Ideas & Variations

Here are some creative ideas to customize your desk:
- Minimalist Desk: A simple tabletop with four straight legs. Perfect for small spaces or clean, modern workstations. Focuses on functionality without extra storage or distractions.
- Desk with Drawers: Add shallow drawers under the tabletop to store stationery, papers, or small gadgets. Keeps your workspace organized while maintaining a sleek design.
- Floating Desk: Wall-mounted desk ideal for small rooms. Saves floor space and creates a modern, open feel. Great for apartments or compact home offices.
- IKEA Hack Desk: Combine a pre-made tabletop with DIY legs for a stylish, budget-friendly setup. Customizable colors and sizes make it easy to match your décor.
- Cheapest DIY Desk: Use pallets or reclaimed wood for a low-cost, rustic desk. Eco-friendly and budget-friendly, this option is great for beginners or temporary workspaces.
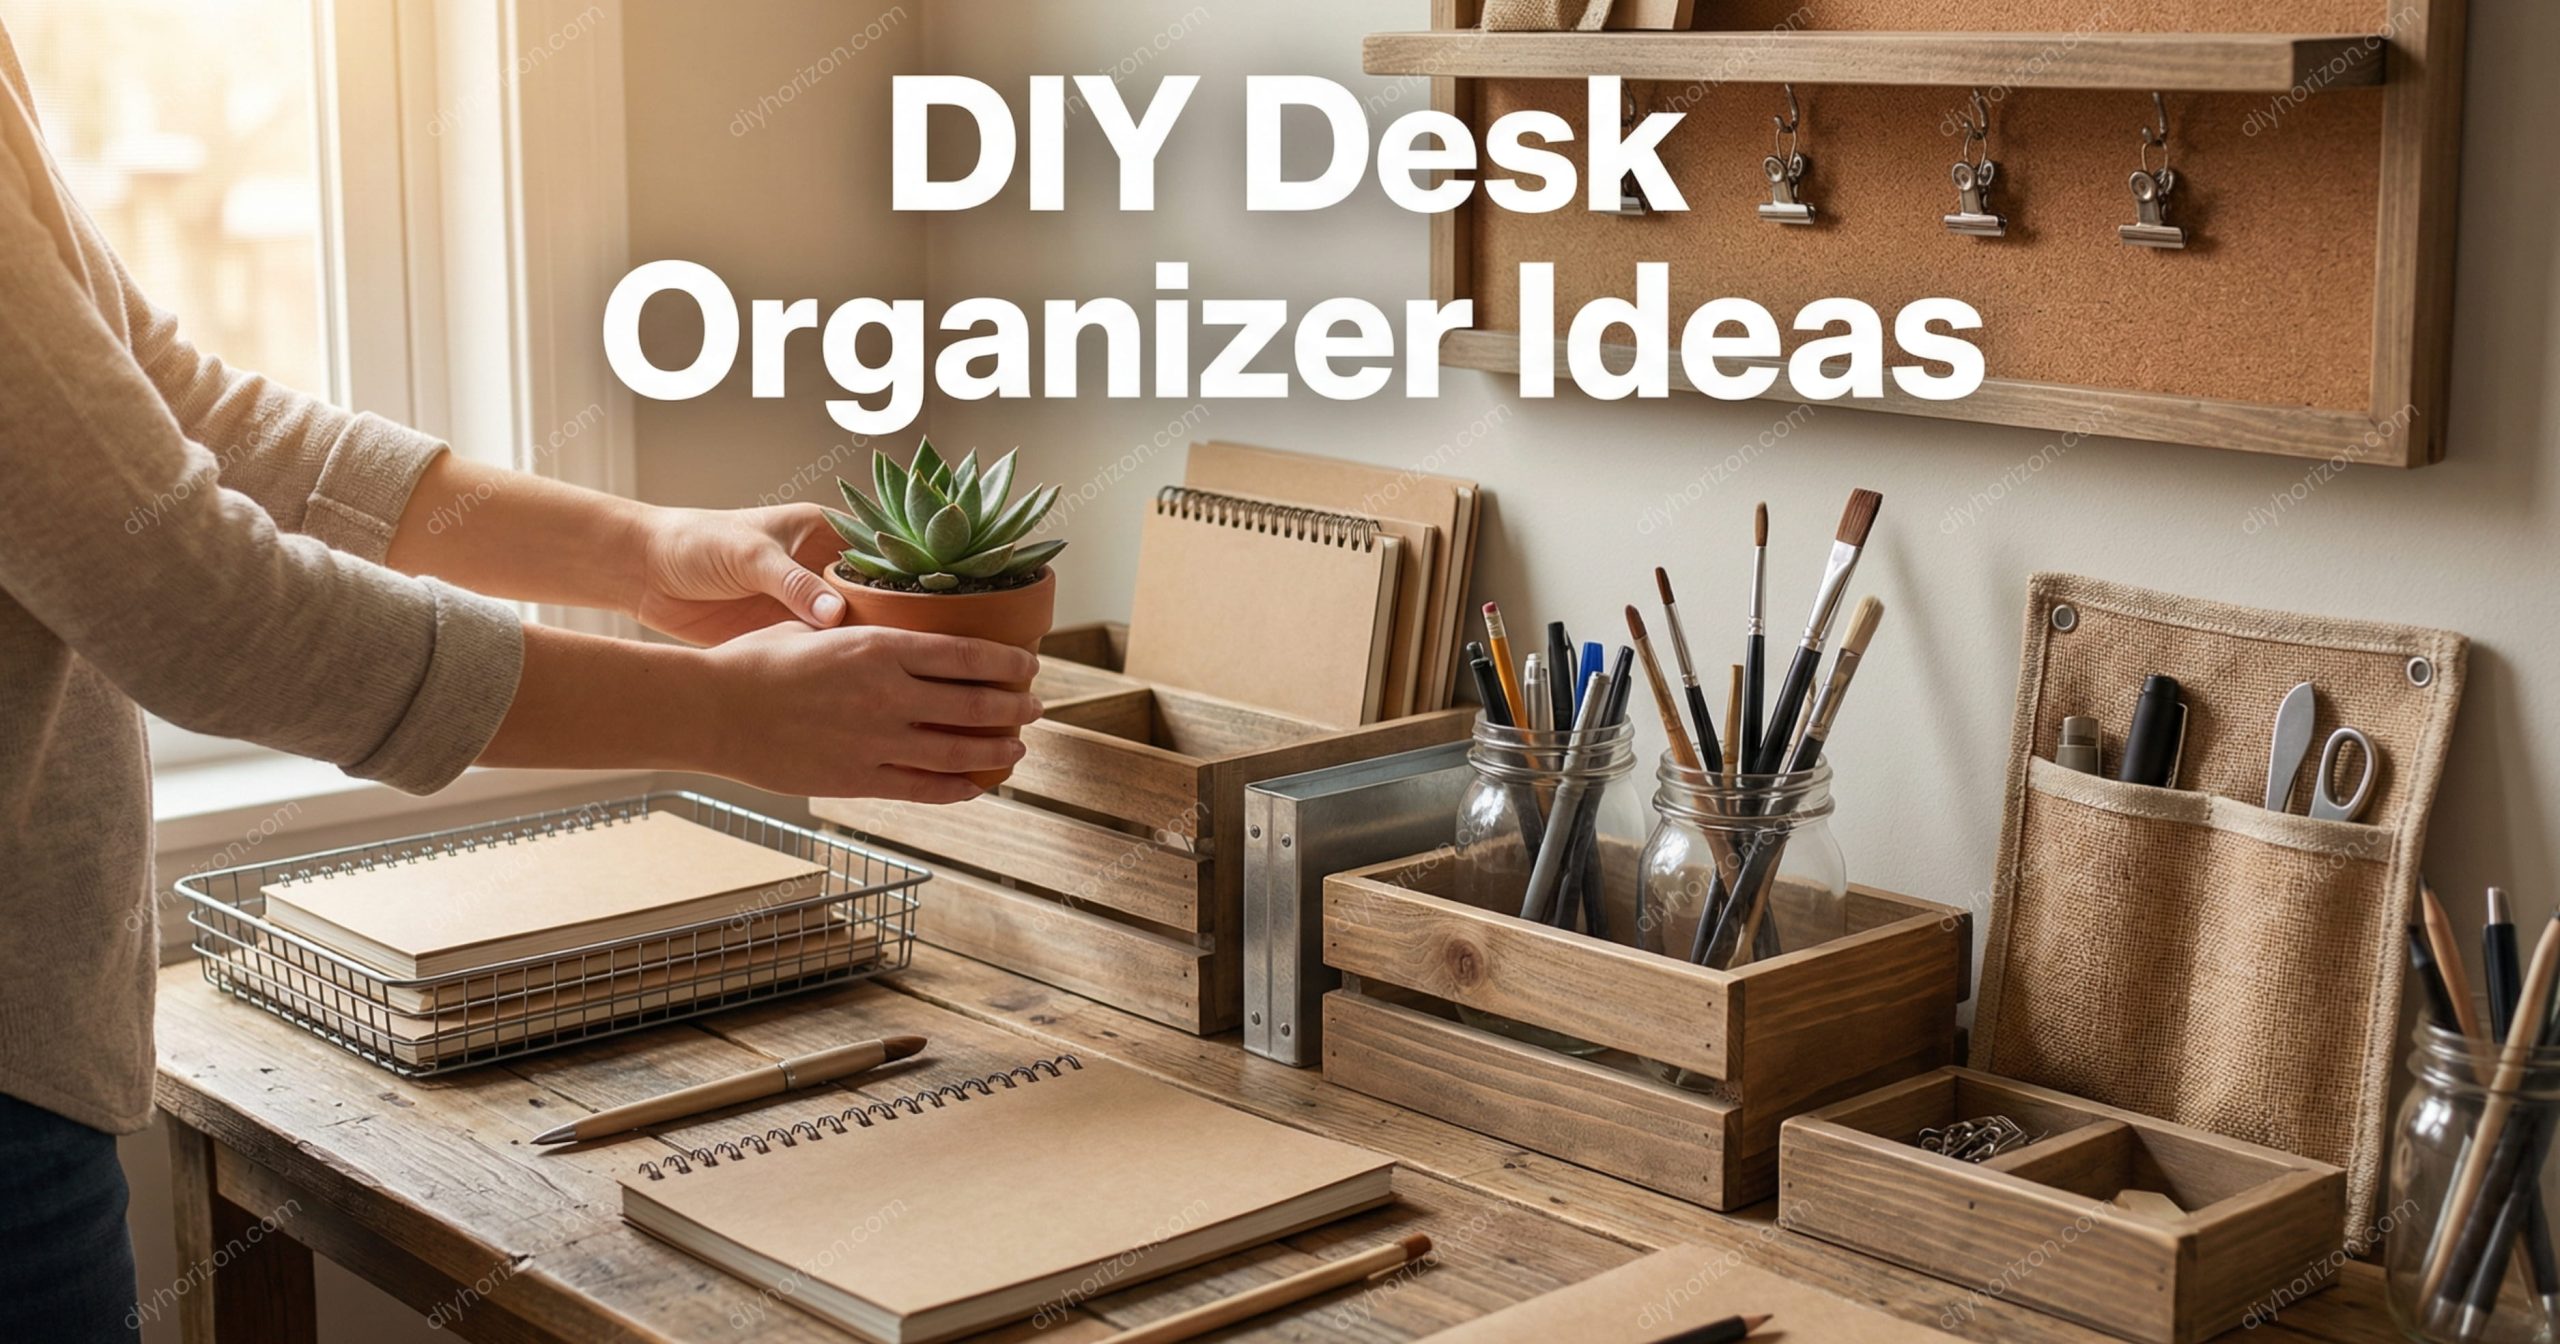
- Desk with Organizers: Attach compartments, shelves, or DIY storage boxes to your desk. Keeps supplies tidy and easy to reach, boosting productivity and reducing clutter.
DIY Desk Organizer Ideas
Common Mistakes to Avoid
When building your DIY desk plan, there are a few mistakes to watch out for. Always double-check measurements before cutting small errors can throw off the whole project. Avoid using low quality screws, as they can loosen over time and make your desk unstable.
Don’t skip sanding; rough edges can cause splinters and prevent paint or stain from adhering properly. Applying a protective finish is essential unfinished wood scratches and stains easily. Finally, keep your first design simple. Over complicating can lead to frustration, delays, and a less sturdy desk. Simple projects often turn out best for beginners.
FAQs
Can I build a DIY desk for under $50?
Absolutely! With affordable materials like plywood, MDF, or reclaimed wood, combined with basic screws and tools, you can create a sturdy, functional DIY desk plan for under $50 without compromising style or usability.
How long does it take to build a desk?
The time to build a DIY desk plan varies: a simple desk can be completed in 2–3 hours, while a more complex design with drawers or organizers may take 1–2 days, depending on your experience and tools.
Do I need advanced woodworking skills?
Not at all! Most DIY desk plans rely on simple straight cuts, screws, and wood glue, making them beginner-friendly. Even if it’s your first woodworking project, you can build a functional and stylish desk with ease.
Can I make an IKEA DIY desk hack?
Absolutely! Pair budget-friendly IKEA tabletops with DIY legs or supports to create a custom DIY desk plan. This approach gives you a stylish, high-end look without spending a fortune, perfect for home offices or creative work spaces.
Sum Up
Building a DIY desk plan under $50 is affordable, practical, and satisfying. With basic tools, budget friendly materials, and a clear plan, you can create a functional workspace that fits your style and needs. Whether you prefer a minimalist desk, one with drawers, or a fully organized setup, this guide covers all the essential steps from measuring and cutting to assembling and finishing. Get creative, follow the process, and in just a weekend, you’ll have a stylish, personalized desk ready for work, study, or hobbies all without breaking the bank.